There are so many surfaces out there that you can paint, from previously painted, stained or lacquered wood, to metal, plastic and laminate surfaces, but there is one common theme to for success in your paint project; PREP! Knowing what your surface is, you’ll be able to figure out what steps are required.
1. Do I need to Clean my piece?
2. Do I need to Sand my piece?
3. Do I need a Primer & When To use Ultra Grip?
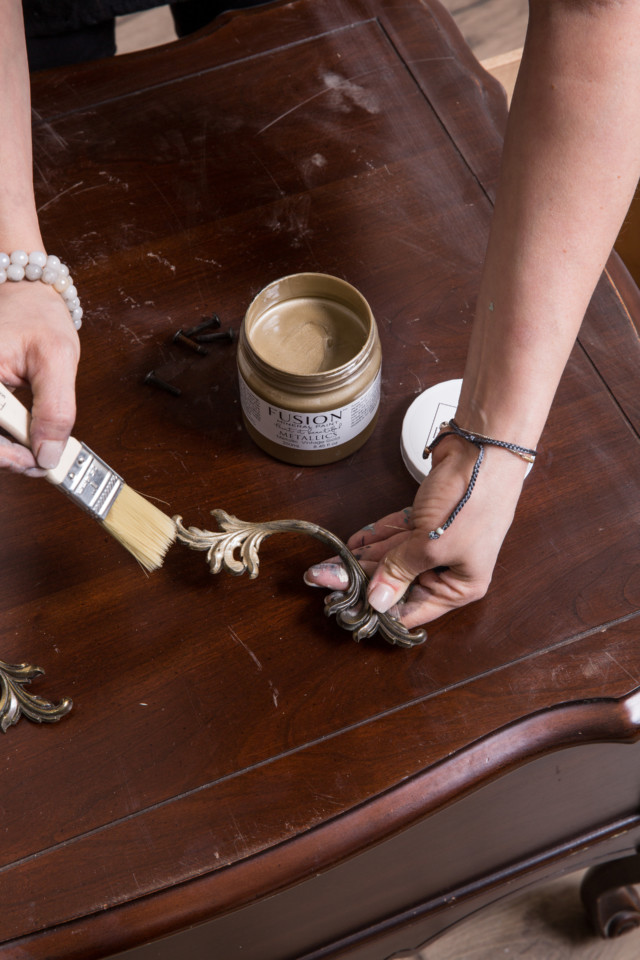
4. How do I Paint my Hardware?
5. How do I Fill Holes and blemishes?
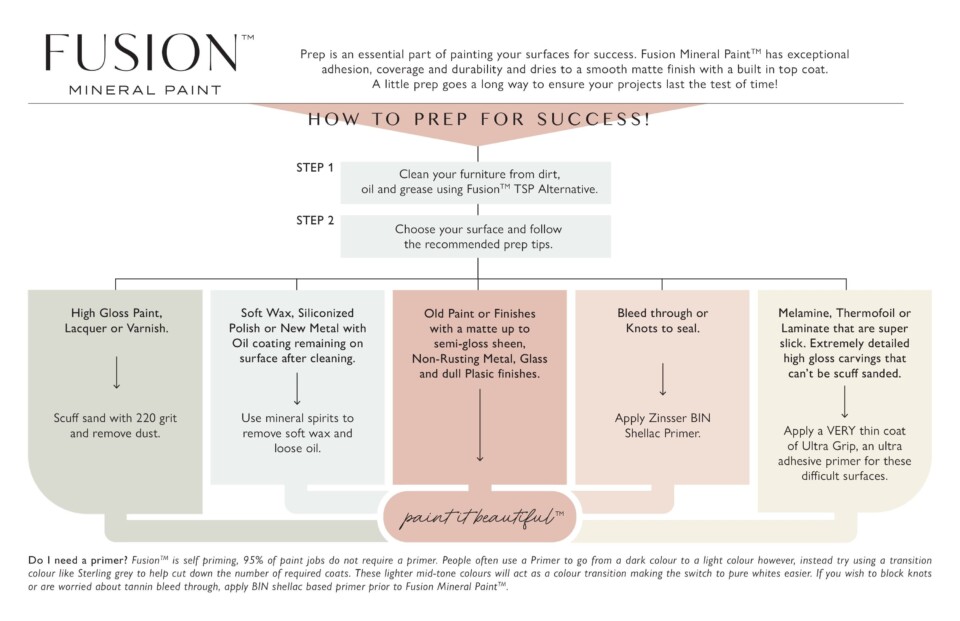
First things first, no matter what your project is, it must be clean! That’s right, no dirt, no grease because paint likes a clean surface. It’s easy, just a quick wipe-down with our TSP Alternative! One small bottle can clean at least 5 projects! Fusion has made this product phosphate free to be eco-conscious, and it requires no rinsing like other TSP products out there.
Dirt builds up over time and you can’t actually tell the surface is dirty until wiping it down.
You can put the TSP alternative mix into our continuous spray bottle to use. That is so easy! Just a light spray of TSP Alternative, and a cloth and voila! All is clean!
Whilst giving a sand to a piece isn’t necessary, it never hurts! If you had a particularly shiny or glossy surface, we strongly encourage a light sand with 220 grit to give the piece more “tooth”. This just means that the paint instead of gliding over the surface will actually have something to easily fuse with, as you’re opening up the pores of the wood/ surface, thus allowing for more grip for the paint! It also allows for an easier smoother paint application with the chance of fewer brush strokes too!
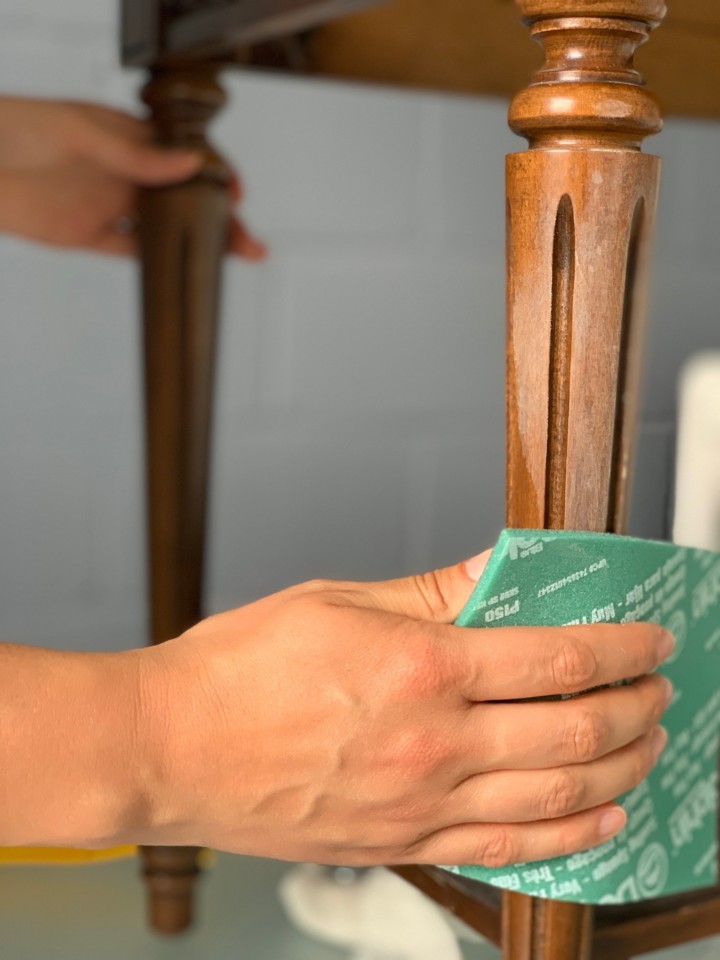
No need to pull out the power sander, just a light pass over by hand and you’re set! Be sure to remove the excess dust created prior to painting with a damp cloth.
While most surfaces DON’T require a primer, there are some instances where one would be appropriate. Ultra Grip makes painting the impossible, possible. Watch this video for more tips!
ou DON’T typically need a primer for bare wood, acrylic or oil-painted surfaces, plastic, metal (that isn’t currently rusting), and lacquered, varnished surfaces.
Previously oiled surfaces like Hemp Oil may be difficult to paint over depending on a range of factors. Be sure to clean really well if you should attempt to paint over Hemp Oil, but there is no guarantee it will work.
When to use a primer such as Ultra Grip
A. Super glossy surfaces, highly detailed like this one could use some Ultra Grip to ensure adhesion.
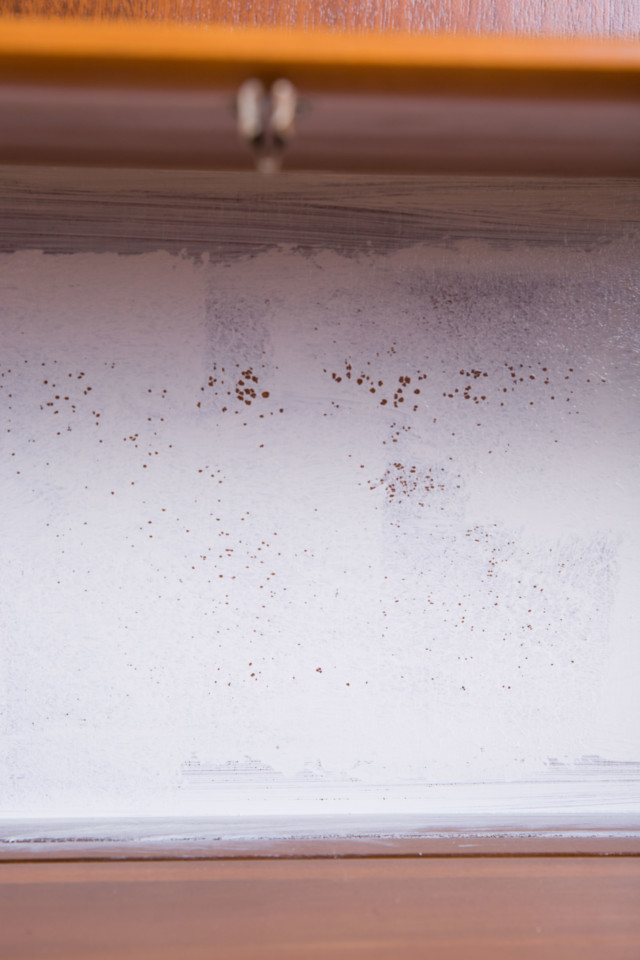
B. Some laminates could use Ultra Grip – not all. How do you know? Apply the paint, and if it starts to lace up immediately (like in the photo below) apply 1-2 coats of Ultra Grip prior to painting.
C. Thermafoil and Melamine – always apply Ultra Grip prior to painting these surfaces to ensure adhesion.
Tip: Be sure to apply very thin coats of Ultra Grip with a fine, quality synthetic brush, or use a sponge to apply it to avoid brush strokes. Ultra Grip is a thicker product that dries quickly and dries clear, therefore making it harder to see where you may have left some excess behind while applying the product. You can use our applicator pad to apply it.
Yes, it’s really that easy! Just simply remove the hardware, give it a quick clean with TSP Alternative, then apply paint! Yup! Right over metal, no problem! If you are restoring an older piece you may need to revive the hardware. To clean your hardware it may be easiest to remove it, this will also make painting a smoother process. To clean hardware we suggest using a 1-to-1 mixture of vinegar and water. Some hardware is tricky to remove so can be cleaned without removing from your piece. In this case, once cleaned you will have to cover your hardware to ensure it stays paint free. This can be done easily with painter’s tape.
If your piece has any damage you will want to fix that prior to painting. Or thinking of moving the hardware to a new location on your piece? Easy! Just use a wood filler, apply it and wait for it to dry.
Give it a light sanding to smooth it out, then go ahead and paint right over it!
These were our Tips to Prep your Furniture for Painting steps to ensure that your painted piece lasts generations to come!